This guide will walk you through deploying a Phoenix project (with a database!) to production on Zeet.
Finished code from this demo is available here!
Setup
If you already have a Phoenix app, feel free to skip this section!
Pre-requisites
First things first, you're gonna need to install some tooling. If you haven't already, install Elixir and NodeJS.
We'll also need to grab the Hex package manager, and install the Phoenix application generator:
Install hex and Phoenix
Creating our app
Now that we have everything installed, let's setup a Github repo for it, and psuh some code!
Make a new Github repository

Now all we have to do is generate our app and push it to Github!
Generate and push your code
Getting Production Ready
Now that we have our project generated, let's deploy it to Zeet and setup a database alongside it!
Setup a private database
Phoenix projects usually come with a database, so you can store information about your users / app. Zeet makes it super easy to deploy a PostgreSQL database alongside your Phoenix application!
Click here for instructions on deploying a private database alongside your Phoenix application – it's only 1 click!
Deploying the app!
Last but not least, let's deploy this app 😤
Let's link our new Github repo to Zeet. Click New Project -> Github on zeet.co and look for your new Github repository.
If you don't see your repo, click Manage Repositories and make sure Zeet has access to your Github repository. We recommend checking the "All Repositories" option to make this easy in the future!

Click that beautiful "Deploy Now" button and we're off to the races! Right away, Zeet will start building and deploying our project.
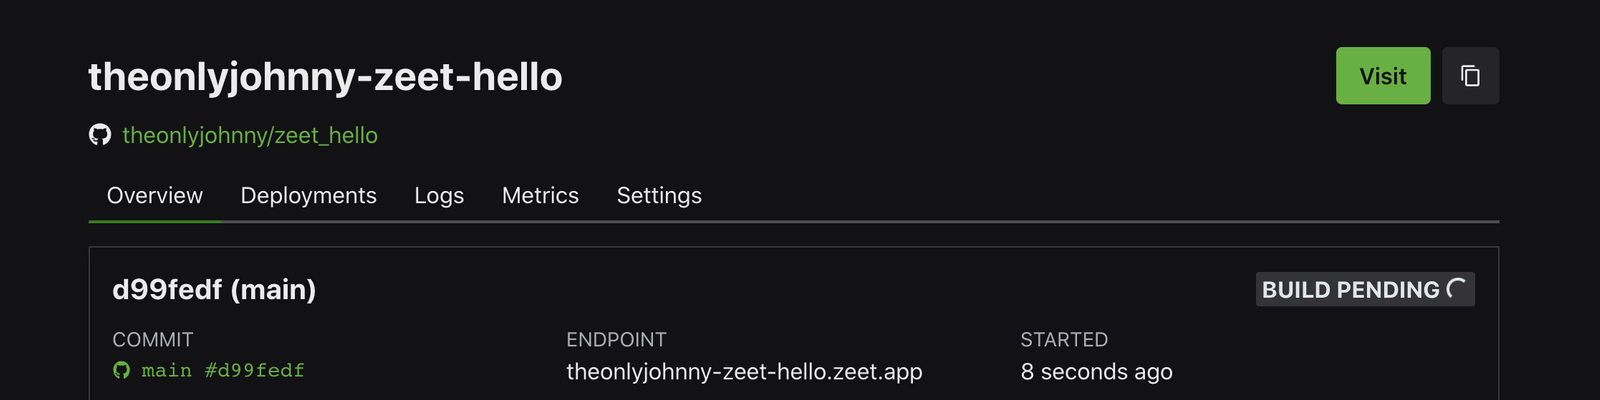
If you click on the Settings tab, you'll see Zeet configured almost everything for our project!

Connecting to the database
There's one more step before we're all done: we need to connect this new project to our database!
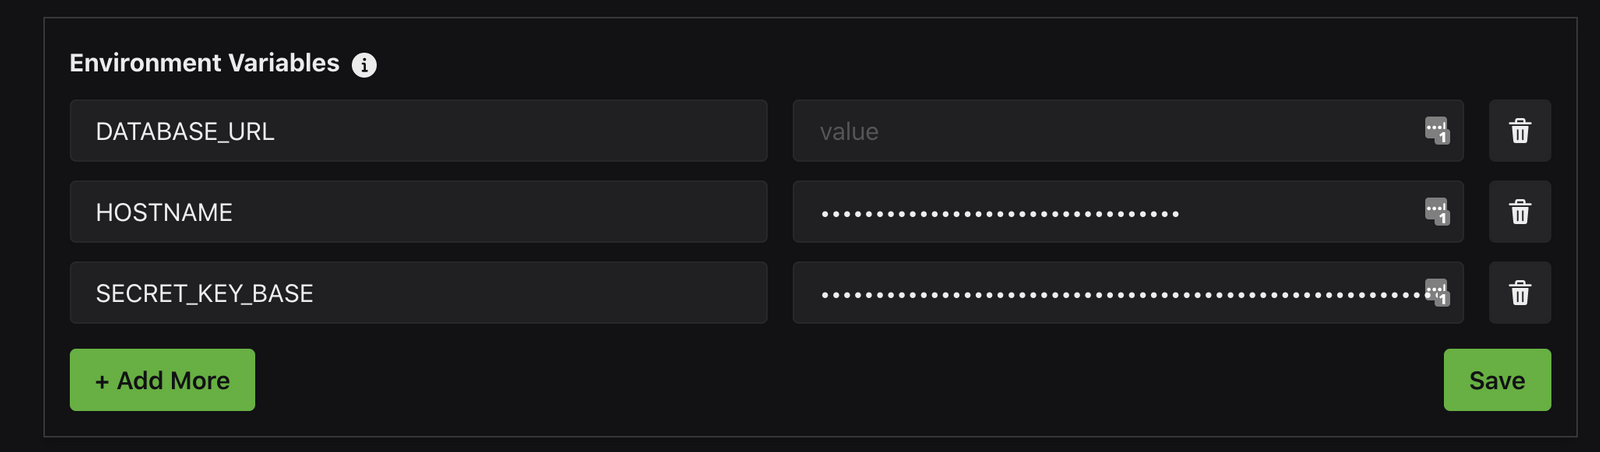
Scroll down to the Environment Variables section – the DATABASE_URL is empty 😢
Phoenix uses Ecto as a database driver. Ecto needs a special URL in the form of
We're going to need 4 things from our database project:
- Private Endpoint
- Username
- Password
- Database name
Luckily, Zeet makes this super easy! Go back to your database project, and the Private Endpoint is right there! This tells your app how to communicate with the database.

The Username, Password, and Database name are in the Settings tab

Great, we have everything we need. Let's put it all together into a DATABASE_URL. Remember, the format is
For this example, my DATABASE_URL is
Paste your URL into your Phoenix project's Settings tab and click Save

All done!
Click the Visit button in the top right corner, and see your app in action!